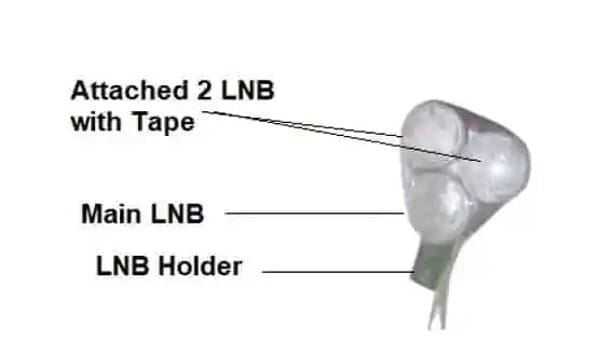
If you are thinking to connect another dish antenna with the same set-top box then you should read this post about using DiSEqC Switch 2×1 till the end.According to your image, you want to search Ku-band LNB2 and c-Band LNB1 by using 2 port DiSEqC Switch 2×1.Please follow the given steps… after connecting all the jumper cables as above picture.
Table of Contents
Step:1
Go to Satellite List and Tick or create any two Satellite Names.Step:2
Now Go to LNB Setting select Satellite Name and enable the below options for This satellite.Settings for C-Band LNB1 –
LNB Type – Standard LNB Frequency – 05150 DiSEqC1.0 – LNB1 Polarity – Auto or H/V 22k – on Mode – FTASave the settings and exit from the antenna settings.Step:3
Now create or select another satellite in the dish antenna setting.Settings for Ku-Band LNB 2:
LNB Type – Universal LNB Frequency – 09750-10600 DiSEqC1.0 – LNB2 Polarity – Auto 22k – off Mode – FTASave the settings and exit from the antenna settings.Now you can go to the scan multi-satellite option and tick both satellites with the blind scan option, mode -FTA only. Wait for 2-3 minutes to scan all the FTA TV channels from both dish antenna or satellites.Quick Connection Steps –
Connect LNBs to the DiSEqC switch: Attach the Ku-band LNB to port 1 (or A) and the C-band LNB to port 2 (or B) on the DiSEqC switch.Connect the DiSEqC switch to the satellite receiver: Link the output of the DiSEqC switch to the satellite input on the receiver using a coaxial cable.Set the DiSEqC switch: Configure the DiSEqC switch according to the manufacturer’s instructions. Typically, this involves setting the switch to the correct mode (e.g., DiSEqC 1.0 or 1.1) and configuring the LNB settings.Configure the satellite receiver: Program the satellite receiver to recognize the DiSEqC switch and the connected LNBs. This usually involves setting the receiver to the correct satellite and frequency.You can find more topics about the DiSEqC switch here. You can compare DiSEqC Switch 2×1 prices from here.Discover more from TrackDish - TV Installation Guide
Subscribe to get the latest posts sent to your email.
Show Comments


