Installing a C+Ku Band LNBF involves setting up a dual-band Low Noise Block Down Converter (LNB) that can receive both C-band and Ku-band satellite signals, but you may face some problems for both bands. Because when you get signals for c-band then your ku-band may have a problem or when you get signals for ku-band then you may miss c-band so the best trick is:
Table of Contents
Here are the steps –
Connect the LNB-
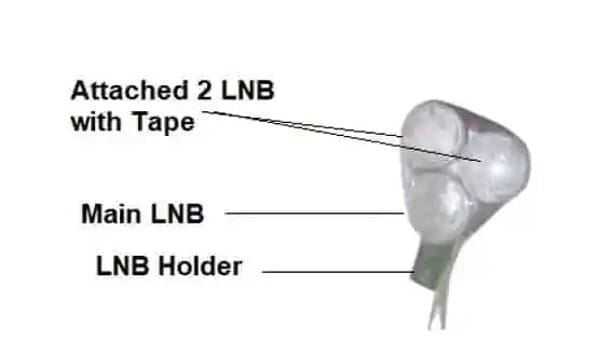
You’ll receive a C+Ku Band LNB with an inbuilt DiSEqC switch. Connect the LNB to your satellite dish. Use the jumper cable provided to connect the two LNB ports, because it already has an inbuilt 2in1 DiSEQCE switch.Connect to Set-Top Box (STB) –
Connect the mainline from your STB to one of the LNB ports. You can also connect two receivers in LNB’s ports and try to get signals simultaneously in both receivers, one receiver for Ku-band FTA TV channels and C-Band FTA channels.Go to your set-top box settings and create two satellites-- Assign one port to Satellite 1 (e.g., Ku Band).
- Assign the second port to Satellite 2 (e.g., C Band).
Configure LNB Settings –
Access your STB menu and navigate to Installation and then Antenna settings.Configure the following settings for each band –For Ku Band:
LNB Power: Always ON.LNB Type: Universal.LNB Frequency: Ku band LNB is typically set to 9750/10600 GHz.For C Band:
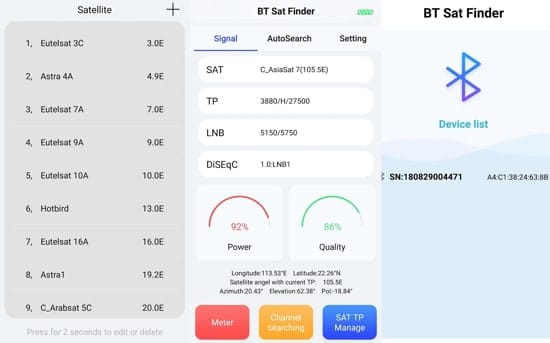
LNB Power: ON.LNB Type: Single.LNB Frequency: C band LNB frequency is around 5150 GHz.Remember to adjust these settings based on your specific LNB and satellite setup. Now select satellites one by one or you can also select multiple satellite scans. Choose “FTA Only” then you will receive C-Band and Ku-Band free-to-air TV channels, which will be lifetime free, in a single installation.Please feel free to let us know if you have any questions. We will post the answer here.Discover more from TrackDish - TV Installation Guide
Subscribe to get the latest posts sent to your email.
Show Comments


